About us
 Who We are
 Our Products
 E-books
 Contact us
 Skilled Tasker
 Speedo Delivery
 Best Match
 Locate Bee
 Hire Flutter Developer
 Hire Hybrid Developer
 Hire Android Developer
 Hire Frontend Developer
 Hire ReactJS Developer
 Hire NodeJS Developer
 Hire Xamarin Developer
 Hire iOS Developer
 Hire WordPress Developer
 Power BI
 Power Pages
 Copilot Studio
 Power Automation
 Power Apps
 Power Virtual Agents
 Developer Tools
 Databases
 DevOps
 Identity
 Integration
 Management and Governance
 Internet of Things
 Migration
 Mobile
 Security
 Web
Web
 Analytics
 Sales
Sales
 Marketing
 HR
HR
 Supply Chain Management
 Intelligent Order Management
 Flutter Development
 Ionic Development
 Angular JS
 JavaScript
 Wearable
 AR VR
AR VR
 MongoDB
 Amazon Web Services
 MySQL
MySQL
 User Experience
 User Interface and Evaluation
 User Experience Review
 Digital Marketing
 Social Media Marketing
 PPC
PPC
 SEO
SEO
 IT consultation services
 Dev Ops
 Launching and Growth Hacking
 Scope of Work
 Product Discovery Workshop
 Strategic Business Analysis
 Food And Beverage
 Banking and Financial
 Travel and Tourism
 Oil and Gas
 Energy and Utility
 E-commerce
 Media and Social
 Healthcare
 Hospitality
 Education
 Real Estate
 Customer Support
 Lead Generation
 Appointment Setter
 E-Commerce


By following this guide, you’ll gain the skills to build custom connectors that enhance your Power Apps. These connectors not only streamline workflows but also unlock endless possibilities by integrating with various APIs.
Get started today and empower your organization with the full potential of Power Apps and custom connectors!
Power Apps is a versatile platform that allows users to build applications tailored to their individual needs. One of its most powerful features is the ability to integrate external APIs through custom connectors. Whether you are new to Power Apps or an experienced developer, understanding custom connectors is key to extending the functionality of your apps.
Here’s a simple, step-by-step guide to help you build your first custom connector:
a. Before creating a custom connector, you need a publicly accessible API with proper documentation.
b. Gather details like the base URL, authentication method, and endpoints.
a. Navigate to Power Apps Maker.
b. In the left menu, click Data, then select Custom Connectors.

a. Click on New custom connector and choose Create from blank.
b. Provide a name for your connector.

a. Set the host URL (e.g., https://api.example.com).
b. Provide a description to help users understand the connector.

a. Choose the authentication method supported by your API (e.g., API Key, OAuth 2.0, or Basic Auth).
b. Add the required details, such as client ID, client secret, or API keys.

a. Define the actions your connector will perform by specifying API endpoints.
b. For each action:
(i) Provide a name, description, and operation ID.
(ii) Add request parameters and define the response schema.

a. Save your connector and use the built-in test feature to validate the connection.
b. Provide any required authentication details and send test requests.
a. After successful testing, save and publish your connector.
b. Use the connector in your Power Apps or Power Automate flows.
Custom connectors bridge the gap between Power Apps and external APIs. Here’s an example to illustrate the process:
a. Use a free weather API like OpenWeatherMap.
b. Obtain an API key.
a. Define the base URL (https://api.openweathermap.org/data/2.5/).
b. Set up an action for fetching weather data, e.g., /weather?q={city}&appid={APIKey}.
a. Use the connector in a Power App to create a form where users can enter a city name.
b. Display the weather data in a label or gallery.

For experienced users, here are advanced techniques to enhance your custom connectors:
Define dynamic schemas to handle varying response structures.
Implement advanced authentication methods, like Single Sign-On (SSO).
Use logic to handle API rate limits and cache responses to optimize performance.
Define error messages and fallback actions for better user experience.
Create connectors with multiple interdependent actions to perform complex tasks.
Begin with a small, single-purpose connector before creating more complex integrations.
Always use secure authentication methods, such as OAuth 2.0.
Include detailed descriptions and examples for each action to help other users.
Test your connector with various inputs and edge cases to ensure reliability.
Use API monitoring tools to track usage and identify bottlenecks.

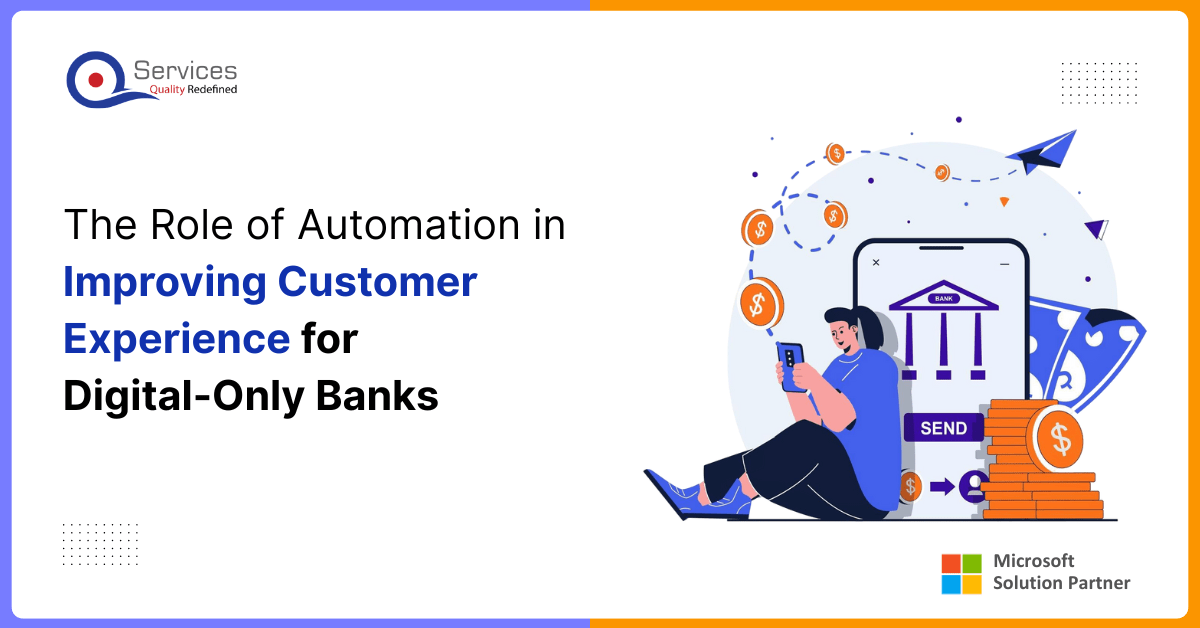
As digital expectations grow, customers now demand speed, ease of use, and 24/7 availability. To meet these demands at scale, digital-only banks choose business process automation in the banking industry to deliver consistent, responsive, and personalized service.

Processing payments involves multiple steps, such as verifying account details, checking records, and ensuring timely execution. In the current financial environment, manual approaches slow down these processes and increase the risk of errors.

Robotic Process Automation (RPA) is no longer limited to large, national banks. Smaller financial institutions like community banks, credit unions, and regional institutions have started implementing this modern automation to find real, practical value.


Founder and CEO

Chief Sales Officer