


-
Industries
Healthcare & Compliance
Patient data systems, compliance reporting, and workflow automation for regulated environments.
- HIPAA-aware integration pipelines
- Automated compliance dashboards
- Patient workflow digitization
Logistics & Supply Chain
Real-time tracking, route optimization, and inventory visibility across your distribution network.
- ERP/WMS integration
- Automated dispatch workflows
- Supply chain dashboards
SaaS & Tech-enabled
Scale your product infrastructure, integrate third-party tools, and ship features faster with reliable ops.
- API-first architecture
- Multi-tenant infrastructure
- CI/CD and release pipelines
Banking & Financial
Secure transaction processing, regulatory reporting, and customer-facing portals for financial services.
- Regulatory reporting automation
- Secure data integration
- Customer portal modernization
- Case Studies
Featured Case Studies
Browse all case studies →Euro Truck ServiceLogistics firm automated 12 manual workflows in a single 30-day sprint
"Read case study →Ergonnex AI 360Ergonnex AI 360 is a powerful project management platform that helps IT companies manage their projects better with built-in AI-powered analytics
Read case study →PanoramikPanoramic caters to your passion for sharing photos in a social media environment.
Read case study →

By following this guide, you’ll gain the skills to build custom connectors that enhance your Power Apps. These connectors not only streamline workflows but also unlock endless possibilities by integrating with various APIs.
Get started today and empower your organization with the full potential of Power Apps and custom connectors!
What Are Custom Connectors and Why They Matter
Custom connectors are wrappers around external APIs that let Power Apps, Power Automate, Logic Apps, and Copilot Studio talk securely to services that don’t have a built‑in connector, turning any REST/SOAP API into a reusable, low‑code building block. They matter because they unlock integrations with your proprietary, legacy, or niche systems, so the Power Platform can automate real business workflows instead of only what’s available out of the box.
What custom connectors are
A custom connector is an intermediary (proxy/wrapper) between Power Platform and an external service, usually exposed via a REST or SOAP API.
Once defined, it shows up just like a standard connector, with actions and triggers that makers can use in flows and apps without worrying about raw HTTP calls or complex authentication.
Why they matter
Extend beyond built‑in connectors: They let you integrate any web API, in‑house app, or legacy system that lacks a standard connector, so you’re not limited to the catalog Microsoft ships.
Enable real business scenarios: Organizations use them to connect to core banking/fintech APIs, CRMs, e‑commerce, IoT, and line‑of‑business systems, creating end‑to‑end workflows tailored to their exact processes
How to Build Custom Connectors in Power Apps for Beginners ?
Power Apps is a versatile platform that allows users to build applications tailored to their individual needs. One of its most powerful features is the ability to integrate external APIs through custom connectors. Whether you are new to Power Apps or an experienced developer, understanding custom connectors is key to extending the functionality of your apps.
Step-by-Step Guide to Creating Custom Connectors in Power Apps
Here’s a simple, step-by-step guide to help you build your first custom connector:
1. Define Your API:
a. Before creating a custom connector, you need a publicly accessible API with proper documentation.
b. Gather details like the base URL, authentication method, and endpoints.
2. Open Power Apps Maker Portal:
a. Navigate to Power Apps Maker.
b. In the left menu, click Data, then select Custom Connectors.

3. Create a New Connector:
a. Click on New custom connector and choose Create from blank.
b. Provide a name for your connector.

4. Define General Settings:
a. Set the host URL (e.g., https://api.example.com).
b. Provide a description to help users understand the connector.

5. Set Up Authentication:
a. Choose the authentication method supported by your API (e.g., API Key, OAuth 2.0, or Basic Auth).
b. Add the required details, such as client ID, client secret, or API keys.

6. Add Actions:
a. Define the actions your connector will perform by specifying API endpoints.
b. For each action:
(i) Provide a name, description, and operation ID.
(ii) Add request parameters and define the response schema.

7. Test the Connector:
a. Save your connector and use the built-in test feature to validate the connection.
b. Provide any required authentication details and send test requests.
8. Publish and Use:
a. After successful testing, save and publish your connector.
b. Use the connector in your Power Apps or Power Automate flows.
Integrating APIs with Power Apps: Custom Connector Tutorial
Custom connectors bridge the gap between Power Apps and external APIs. Here’s an example to illustrate the process:
Example: Connecting to a Weather API
API Setup:
a. Use a free weather API like OpenWeatherMap.
b. Obtain an API key.
Connector Creation:
a. Define the base URL (https://api.openweathermap.org/data/2.5/).
b. Set up an action for fetching weather data, e.g., /weather?q={city}&appid={APIKey}.
App Integration:
a. Use the connector in a Power App to create a form where users can enter a city name.
b. Display the weather data in a label or gallery.

Advanced Techniques for Building Custom Connectors in Power Apps
For experienced users, here are advanced techniques to enhance your custom connectors:
1. Use Dynamic Schema:
Define dynamic schemas to handle varying response structures.
2. Custom Authentication:
Implement advanced authentication methods, like Single Sign-On (SSO).
3. Rate Limiting and Caching:
Use logic to handle API rate limits and cache responses to optimize performance.
4. Error Handling:
Define error messages and fallback actions for better user experience.
5. Chaining Actions:
Create connectors with multiple interdependent actions to perform complex tasks.
Practical Examples of Custom Connectors in Microsoft Power Apps
Example 1: Inventory Management
- Integrate with an ERP system to fetch real-time stock levels and update inventory directly from Power Apps.
Example 2: Customer Support
- Connect to customer support tools like Zendesk or Freshdesk to pull in support ticket data, track response times, and update customer issues directly within Power Apps.
Example 3: Financial Data
- Fetch and display live financial data from APIs like Yahoo Finance or Bloomberg.
Best Practices for Developing Custom Connectors in Power Apps
1. Start Simple:
Begin with a small, single-purpose connector before creating more complex integrations.
2. Secure Your API:
Always use secure authentication methods, such as OAuth 2.0.
3. Document Your Connector:
Include detailed descriptions and examples for each action to help other users.
4. Test Thoroughly:
Test your connector with various inputs and edge cases to ensure reliability.
5. Monitor Performance:
Use API monitoring tools to track usage and identify bottlenecks.


Custom Power Apps Development: Use Cases, Costs, and What to Expect Rohit Dabra | May 7, 2026 Table of Contents Facebook-f Twitter Linkedin Custom Power Apps development is how Microsoft-stack organizations finally close the gap between what IT can build and what the business actually
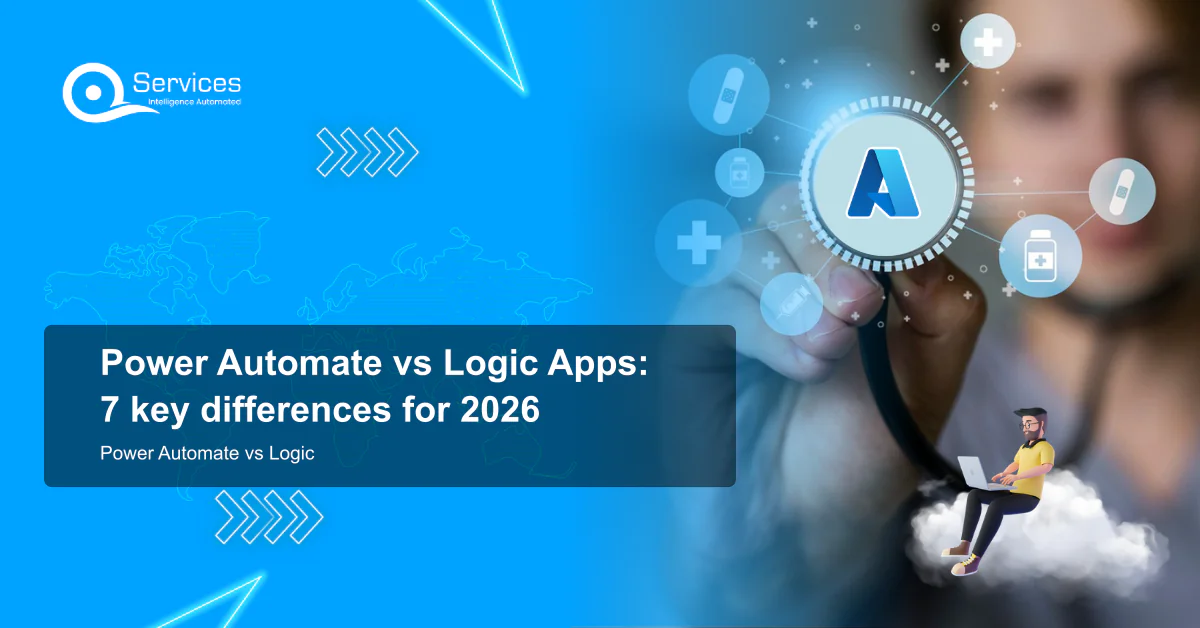
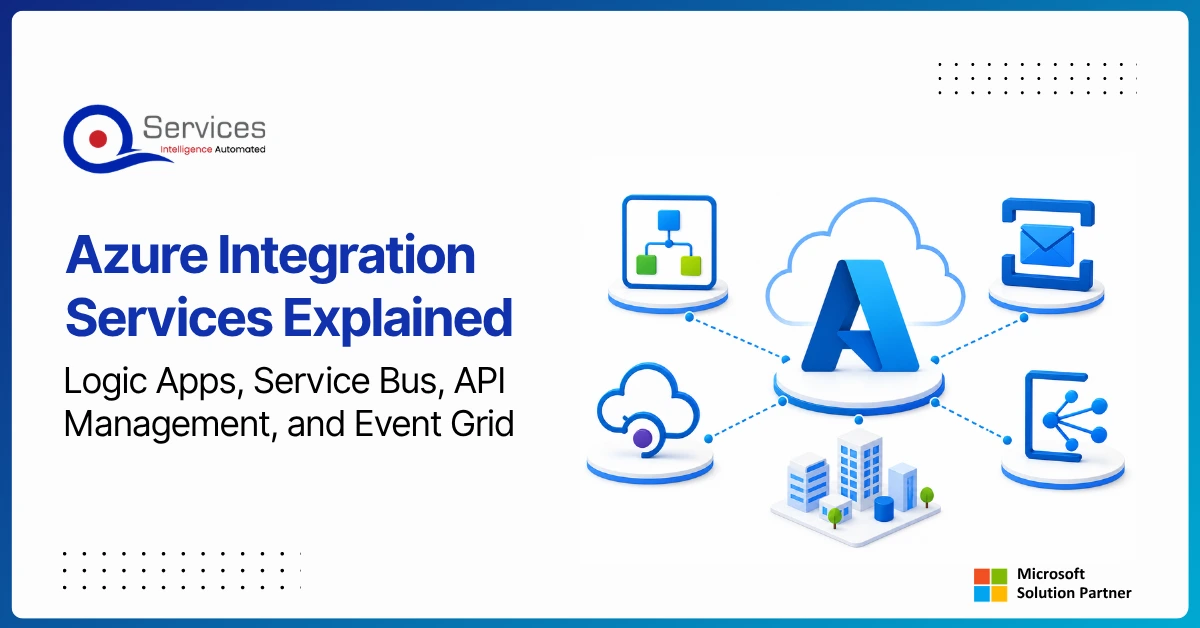
Power Automate vs Logic Apps is one of the most common architectural decisions Microsoft shops face in 2026, and the stakes are higher than they look. Both tools automate workflows inside the Microsoft stack, both connect to hundreds of services, and both claim to solve

Every bank today is trying to do more with the same teams. Customer emails are increasing, compliance checks are getting stricter, and service expectations are becoming instant. Yet most internal processes still depend on manual steps. Employees move data from one screen to another, verify documents by hand, and follow long approval chains.


Sahil Kataria
Founder and CEO

Amit Kumar
Chief Sales Officer


QServices Inc. undertakes every project with a high degree of professionalism. Their communication style is unmatched and they are always available to resolve issues or just discuss the project.
